Saturday, March 15, 2014

Hanging Radiant Orchid

There are a few more walls I would like to decorate. First wall is the one that you can peek from the carport, which is the outer wall of the toilet downstairs and second is the one perpendicular with my wall of photo display, the outer wall of the kids' bedroom.

The outer wall of the toilet at the ground floor. Yes, that is a big clutter I need to sort immediately before I hang any wall decor on the wall.

The wall you see when on the stairs, in front of the kids' bedroom

I took the measurement of both wall and with my minimal CAD skill I draw an elevation drawings of them. I wanted to see the proportion of each wall so I can determine the size of the wall decor I wanted to put on each of them.

By using AutoCAD, I can easily measure the wall and have them compared with people's height.
So now I am hopping around the net to find ideas on what to actually out on both walls. I definitely would like to have something like the image below because of the bold color and the big feature. It will make such a statement for my boring plain white wall.

source here

But I think I have seen the emerald color way too much. Maybe because it was chosen as Pantone Color of the Year in 2013. So when I visited Pantone official website, I found Radiant Orchid as the Color of The Year 2014

source here
So one idea is to have painted canvas in the Radiant Orchid color. In which I have to determine the dimension of the canvases. After googling around, I have found the standard canvas dimension and I start drawing them in the AutoCAD file.

I decided to put the canvas on the outer wall of the toilet at the ground floor since this wall is facing directly to one of our windows. I figure that it is safer to display the family photos only for anyone who is actually in the house, rather than having anybody who happens to be in our carport to be able to see our family photo details.

The variety of canvas proportion to our existing wall

It is best for me to say that I would go with either two option below. I imagine that I would love to have the wall brighten up a bit and having 3 canvases 50 x 50 cm each will definitely do the trick. I am concern with the total height of the display. The lower canvas is just too low and the highest, well, too high. I leave the two option and start thinking what to display in these canvases.

I have my mind set for this quotes
source here
source here
Having stumbled on this shop makes me wonder, why not cross check the shop wall art dimension with the availability of the canvas here. After all, I will spend less for this wall art if I only need to purchase one piece of canvas in medium size, rather than three small ones. So I did and found that the above wall art comes in 60 x 119 cm dimension which unfortunately is not available as a canvas standard here. The closest dimension is 60 x 100 cm and if you measure it on CAD, it will look a little bit off, like this

Yes people, 19 cm means so much. The 60 x 100 cm looks awkward on that wall, doesn't it?

I have decided to use three 60 x 40 cm canvases with the above quotes. Now I will measure the dimension of the letters using the format you have seen above.


Friday, March 14, 2014

Photos on Our Wall

It has always been my intention to put a photo gallery in our new house. The thing is all over Pinterest and as an owner of a new house, I don't think I should miss this since I have many, many empty wall around the house and I have many, many collection of photos. To start is our wedding photos. It has been lying on the floor ever since we have them display in our wedding reception.

To start, the frame configuration at some point has to have some symmetry. It will be easier for me to measure and to make sure that every frame will be displayed with more or less the same distance. This image below is one of my favorite because it has a streamline separating the upper and below group of photos

source here

I believe I have the picture of our bare wall but now I am completely at lost at where I put hose images. I make a mental to note to put a system on how I should save the images I need to put here.

The photos I would like to display was among our weeding reception decoration. As you can see below, the white frames can be put on the desk. The back of these frames can accommodate whether you want to display your photos standing on a surface or hanging on the wall

The photos was printed as a part of our wedding reception decoration

Since I like the look on above image where you can see the frames do not have any gap from the wall I need to take all the display tool on the back of each frame

The frames are actually well-equipped if we wanted to hang them on the wall or just put it standing on the table

After assessing the frames I need to put on the wall, I gather the tools I need.


I use the screwdriver to take out the hanging hooks at the back, while the pliers goes for the wooden stand. I really do not want to use the traditional nail and hammer, I am terrified with the permanent damage I may cause my wall. I initially want to use this product but since my dearest husband already have this strong bonding tape, I guess I just have to use it. It may still damage the wall at some point but at least there will not be any holes drilled.


There are one other tool which I forget to take the picture, it was our water-pas to make sure that I hang the frames in one straight line.

I initially arrange the frames in the floor first to get the idea on how it may looks, in which I forget to take pictures along with the process of me hanging them. So I guess I just have to revealed how I did by hanging those frames.

The image look washed out, sorry for the quality
View from the stairs up
I actually am not 100% satisfied with the result. I think the white frames becomes to dull on a white wall. But I guess I just have to leave this at that for now and moving on to the next wall creation.

I do however in love with the photos my husband hangs on our brick wall dining room.

One row of photos in black frame

And my husband's guitar as an accent in the end
I know, the last two photos is a total show off since it does jump out of context. I put those here since both photos came straight from my camera, without editing whatsoever. I'm sorry, I really cannot help my self. Since hey, you guys really needs an accent from that boring white wall, right? 

Wednesday, February 12, 2014

Moleskine and I

I love Moleskine, I absolutely adores them. I am truly a big fan of these babies and if I could, I would have use everything Moleskine for my paper stationery. Call me the victim of marketing campaign but I just fall in love with the idea of using the same notebook with Vincent van Gogh, Pablo Picasso, and Ernest Hemingway.

The flap cover from my new Moleskine. Red!

I have been using Moleskine planner for my agenda three years in a row. I love the 2013 version where it is actually an 18 months weekly planner Peanuts Edition. Yes, people, Snoopy!

18 months weekly notebook planner Peanuts edition 2012 - 2013

They have all kind of format for notebook. You can even download the templates you need as an add-ons for your planner here.

The templates of my first Moleskine, meanwhile the Peanuts edition's templates is the same like the 2014 planner

I have been very happy with using Moleskine all this time. My only complaints, beside their price, is that there are not many version available here and the only way we can purchase those we really wanted is to have them shipped all the way from Hong Kong.

The bookstore which I often buy my supplies does not carry large amount of variety and those which is commonly used is selling out like a hot cupcakes. Although at first I actually wanted a black planner, this year I'm using the one in red.

The one I'm using now comes with a book of tabbed pages and some fun stickers. They are kept in the folded cover in the back, just like any planner I have previously used.

The tabbed pages and stickers in grey, green, and red
The stickers to name the tabbed pages
I love the paper quality and I love the smell of these notebooks. I too was surprised that they have an application for Moleskine on iPad. But there is nothing like the real thing.

I am planning to incorporate my binder, which is -shame on me- has not been done yet even this is mid February already, with this planner. I absolutely will not put a daily to-do list in my binder since I have used this planner to take notes of my to-do's.

As promised, I will post our home management binder once I have decided the system we will working on. Stay tuned, peeps!

Monday, January 6, 2014

Good Intention Gone Ashtray

I have the best intention to work on my Project Life ever since the beginning of this year. I bought two kits around November 2012, the Clementine Edition and Baby Edition For Her. It was almost the end of one year period and I just gave birth to my first baby daughter. I dedicated the Clementine Edition to 2013 memory keeping and the Baby Edition, well, for the baby. 

I remember how excited I was to begin working on Project Life Baby Edition.The first time I print all the photos I wanted to include in my baby's Project Life, I went overboard since I print too many and wasted most of the photo pockets for similar images of Baby No. 1. Before her first birthday, the binder was becoming too full and I was afraid that I may run out of the photo pockets. We cannot find those products here so if I need to have them imported, it will take too much time and too much money just for additional pages. Besides, although the binder can take more than 60 photo pocket pages, it becomes too bulky and quite difficult to open.


So I was working on two Project Life. Very ambitious, huh? Guess what, I did not complete any. What is worse is I can only reached the first 3 weeks.


The first week layout

First week close-up

As you can see, I only have a couple of pictures taken without any significant journal. I can only capture the left page of the spread since my spirit of doing Project Life documenting and journaling is typically last on Monday to Tuesday. Afterwards, I was caught up with whatever it is that was going on in that week.


Left page of the second week
An Amy Tan collection for the title. I used all available fonts as week title, it last until week 10

Looking back, I feel quite sorry, like that I let time pass me by, that I do not take the time to look into our lives and be thankful for whatever it is that is happening. I admire those who diligently and persistently working on their projects especially ones who decided to approach the a-picture-a-day system. Kudos to you guys, you have my utmost respect. 


Left page of the third week

So in the beginning of this new year, I will of course try again to complete my Project Life. And Ithis time it is getting very ambitious. There are 3 binders I wish to complete:
1. Project Life 2014
2. Project Life Baby No. 1 (I need to complete Month #9 to #12)
3. Project Life Baby No. 2  

I wish you all a happy new year, let us celebrate a new beginning.


Sunday, December 29, 2013

Our Home Management Binder - December 2013

I consider my self to have failed managing or shall we say, updating our home management binder. You see, when we moved out earlier this year, we did not move straight to our own house because it was still under renovation. Meanwhile we were staying in our temporary place, the binder was sealed and packed and remained unopened until we moved into our own house.


The binder is right on the right, you can see the blue plastic zipper as I placed it upwards along with some of our family pictures and plastic containers for dressing table organizers. Excuse the blurred image as you can see the shadow of my hand taking this picture.

As we moved in and starting new in the new house, it is clearly the opportunity to utilize this binder to its optimum function. 


The cover of our binder

We need to evaluate how to use this binder since I learned about this system from bloggers who has different culture from us. They use the binder or they call this command center since the house is only occupied with family members. Here we live with our domestic helpers so it may be unsuitable if we put this binder in public area within the house. If we do decide to keep this in the public area, such us our living room, we may have to omit the personal information such as our bank accounts. The helpers may not speak English but I don't think it will take much time for them to understand the contents of the binder. How hard can it be to comprehend the expense tracker, right?

I'm thinking that we need this binder as a keeper of general information around the house. Some of the category we already have serves as a keeper of our general information.

Let us review the ones we previously had :


1. The stationery and 2013 year calendar


The stationery pocket holds a calculator, markers, and pens (black and red). The calendar was from http://printables.yourway.net/

Of course we will still use the stationery holder and we will change the calendar to 2014 yearly calendar. I have one from the same source but I am considering to use the one I found here. Please do visit the link, it is one magnificent read.


2. Monthly calendar


From the month of June, I did not put anything. Obviously, this is the time the binder was untouched in our moving boxes


I have mine from here

I put my schedule, my husband's, and Baby No.1's activity in the calendar. This calendar only serves the purpose of giving general information of our activities. It allows me to remember what is happening each day. I have my detailed schedule in my own agenda. My husband doesn't own any kind of agenda so I think it will be helpful if I put his in this calendar.


3. Account tracker


I found mine here

My intention is, just like the title, to track all of our account, meaning our bank accounts and credit cards. I may have to change the detail a bit since we closed some of our credit cards.


4. Expense tracker


You can get your copy here

I would like to evaluate the use of this section since I have a hard time writing on this format. 


5. Baby food diary


I download mine from here

I started using this form when Baby No. 1 is 7 months old, when she was starting to eat solids. I did even make it to the first month. Bad, bad mom. Again, I found it hard to write in this format and I did not have the perseverance to discuss what my baby had for the day with her sitter. We will use this kind of table for Baby No. 2 in March and hopefully this time I will do better.


6. Monthly bill payment

I'm sorry I forget where I download this form. I used other format and leave this one blank just to show you. And I'm sorry the blurry image, I printed it when the ink was low in our toner

This table already serves its purpose as a reminder. I left out the image of the table I actually use since it clearly shows you, the reader, our monthly payment. Basically, it has the deadline of our monthly payment, along with the name of the bill. We only tick off the table on the right once we make a payment.


7. Plastic pocket


The plastic pocket & the divider I use

I use this plastic pocket to file any bills that needs to be noted in the above category.

At this point I am considering that I may need to change the binder altogether since I am reminded that one of the major reason this system is not working for us is my reluctance to write in this big of a format. 


I also find that with this kind of binder, it will not look as neat as if the content is full with even paper size. 


I would like to have a neater look for our binder next year

Having reviewed our binder, I realized the harsh truth, the kind of binder we are using right now is not suitable for us. I will not have those lovely binder I have seen around the web, I need to come up with one that we can actually utilize.


So, I have less than a week to 2014 to decide which category that will go into out home management binder. I need to keep in mind that we need a system that is truly beneficial to us, rather than for the sake to have a lovely binder which we cannot use in the end. Stay tune as I need time to do my homework.

Tuesday, December 24, 2013

How to Keep Your Devices Manuals

When we bought appliances or devices or gadget, they come with packaging and manuals. I used to keep all those packages, considering that if I ever have to sell them, I will get better prices if they come with their original boxes. The I realized that I have never sold any of my gadgets, I just gave them away to our helpers who rarely asked where is the original packaging. I then made up my mind that I will not keep those boxes anymore since they tend to pile up everywhere around the house and gather all that nasty dust.

But I think it is a different story when it comes to the manuals and the warranty cards. I collect them in case I need to find some information regarding the appliances or the gadgets. We do not have many things that come with manuals and cards so I still save them in the plastic pocket like so.


The plastic pocket to hold all my manuals and warranty cards

If the pockets become inadequate, we will categorize the manuals.
Since we do not have many, this is sufficient for the moment

Since our working area has not completely done, I keep this pocket in the cabinet in our bedroom, along with my paper stock, my Project Life items, and the expandable plastic folders that keeps the copies of our important documents.


I also try to find the soft copy version of the manuals. So far, I have only collected four which are the manuals for my cameras, for the new fridge, and the iron.


I put the manuals in my IBook for easy read

Should the manuals adding up, then I will consider to have them categorized. At the time being, i find this system serves us just fine.

Sunday, December 22, 2013

And The Winner Is

Before moving to the new house, I have shared with you the home appliances I intended to buy here. In the end, these are the things that made it into our home.


It turns out that we did not need to purchase a new microwave since my mother-in-law gave us one as a gift. This saves us a lot. (Thanks, Mom!) I like the white color it brings in front of our brick wall although this is actually an old model. You can tell from the turn knob.


So far we do not have a problem with this baby. We use it only to warm our meal. 


As for the rice cooker, you know I really dislike how most home appliances look here. They look as if they are all made from plastic. The flowery pattern and the bright color just does not meet my taste. I have narrowed down my choices and already decided where I will but it from based on the above table. I changed my mind once I found this one.


http://www.starcosmosgroup.com
(I think the manufacturer should improve their product image, seriously)

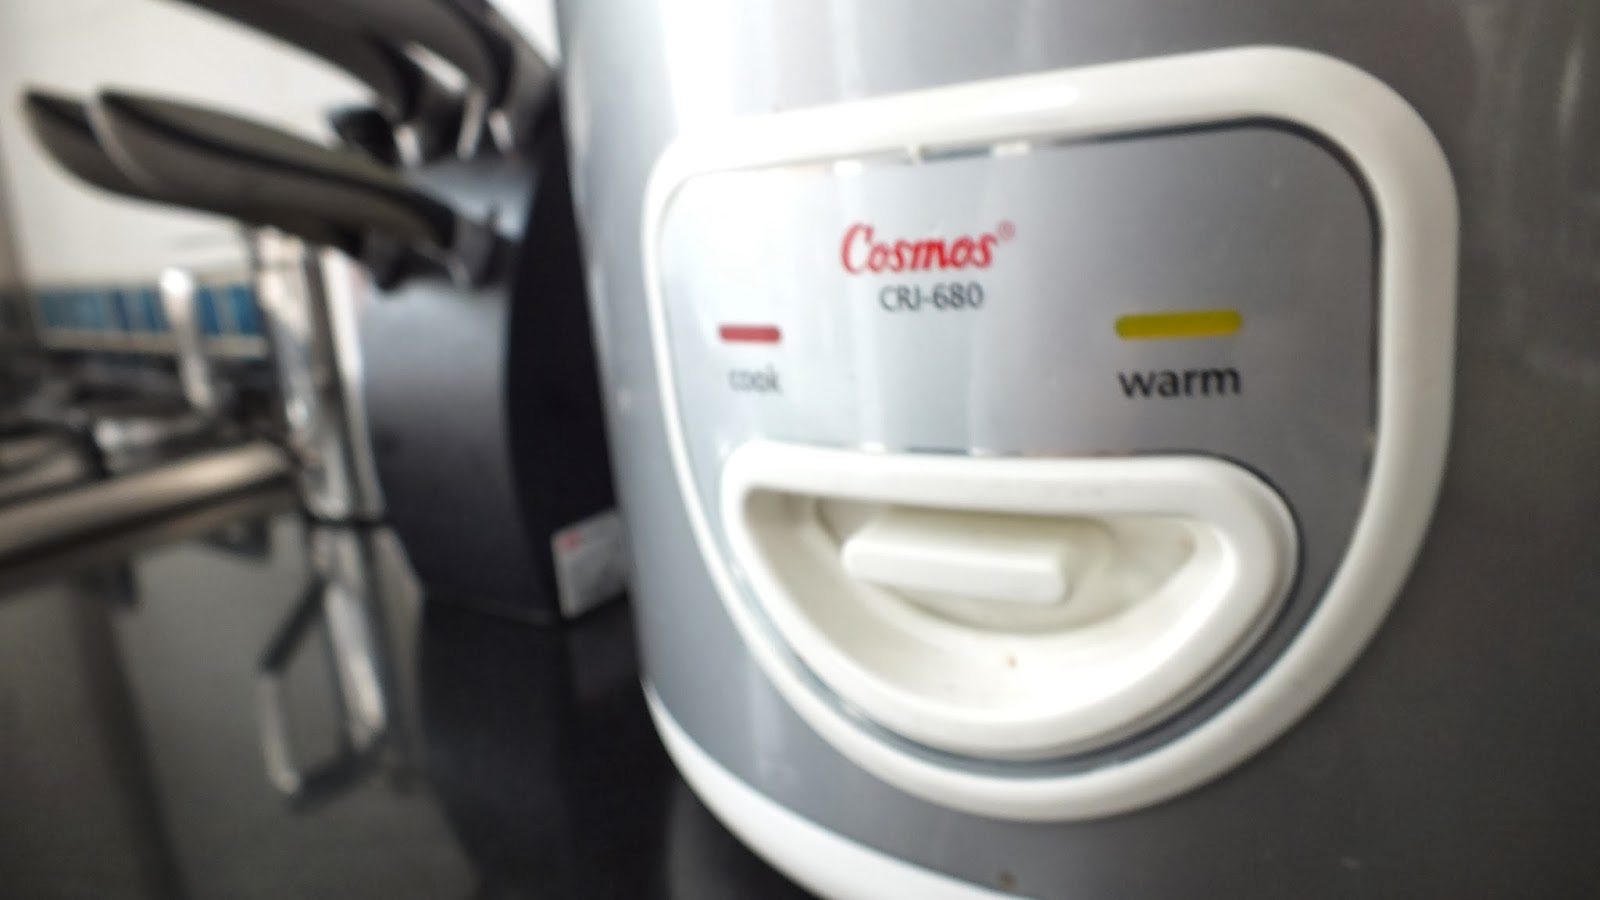
Since I do not need any fancy feature and I dislike any pattern on my home appliances, this seems to be the perfect choice. It does what a magic com should, it cooks rice and it keeps them warm. That's it. No fuss.

I intended to buy it on-line but in the end, due to my procrastinating habit, I ended up buying this baby from one of our local supermarket. One online shop is running out of stock, the other has two weeks delivery time. Price difference is around IDR 85,000


Cook or warm, that simple
Excuse the 'blah' image, I tried to fancy it up a bit, but somehow it just did not work
We have not yet buy either kettle nor toaster. I am now considering whether or not we need the kettle since these days I cannot see any kettle features that may benefit us. Toaster will probably serves us better. 

What do you think?